Docker desktop and WSL2 replacing the virtual disk location
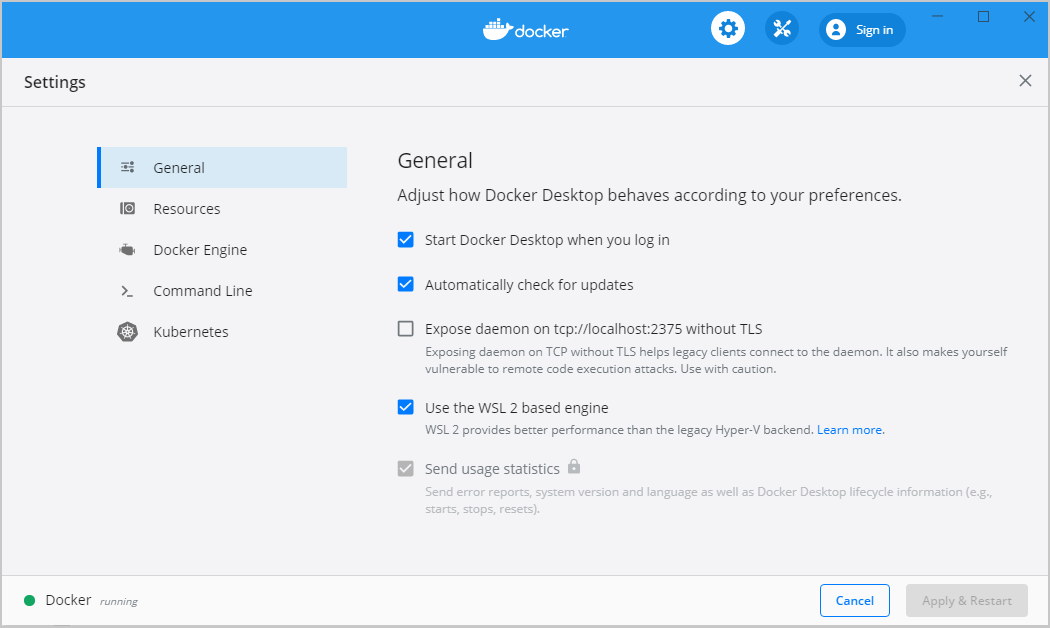
With the introduction of WSL2 on Windows 10 version 2004, docker desktop can use WSL2 instead of using Microsoft Hyper-V directly, you can check more about using WSL2 as the Docker Desktop backend here https://docs.docker.com/docker-for-windows/wsl/.
Once you install Docker Desktop and enable the support for WSL2 it will create 2 Windows Subsystem for Linux distribution:
- docker-desktop
- docker-desktop-data
Up to this point, I haven’t found a way to change where those distribution virtual disks are created. It happens that in my development environment I have 2 disks, a faster and smaller one that I keep my applications and a bigger and slower where goes my data.
If you have the same situation as I do and would like to move then out of place here is a quick guide on how to do it. You don’t need to uninstall any of the docker containers to do so, but if you are starting fresh it is best to do that before starting to add containers (fewer data to move around).
The firsts step is to stop your docker desktop, you can either stop the docker desktop application or using the power shell stop the following containers: docker-desktop and docker-desktop-data (wsl -t container_name).
Make sure that you the containers stopped using the following command:
PS D:\> wsl -l -v
NAME                   STATE           VERSION
* Ubuntu-18.04           Running         2
  docker-desktop         Stopped         2
  Ubuntu-20.04           Stopped         2
  docker-desktop-data    Stopped         2
PS D:\>
As you can see on the highlighted lines the containers are stopped.
I didn’t find the need to move the docker-desktop container itself, just the docker-desktop-data, but that can be done with both. The first step it to export the docker-desktop-date container to a tar file, remove the container, and reimport it with the same name in a different folder.
#First step is to export the virtual disk to a tar file.
wsl --export docker-desktop-data docker-desktop-data.tar

#Second step is to unregister the Distro, which will remove the original v-disk
wsl --unregister docker-desktop-data

#Finally import the distro back placing the virtual disk on the desired location
wsl --import docker-desktop-data /path/to/virtual/disk/folder docker-desktop-data.tar
Don’t forget to adjust the path to the folder where you want your virtual disk to be located (line 8) – it is the folder name and not the virtual disk name.
Once that is done you can restart your docker desktop application and you will ee that the existing and new docker containers will use the virtual disk of the imported files.
Leave a Reply